How to Install Any Basketball Pole Sleeve?
A basketball court is complete if you just have a pole in the court with a properly sized hoop to put the ball.
But there are certain considerations that you need to take care of because it can be a hassle if your pole isn’t movable in the winters and low seasons.
Also, there are times when somebody would like to rotate the pole in a different direction because of sunlight and all. So here the question arises How to Install Any Basketball Pole Sleeve?
So let’s follow the instructions given in this article with all the required details.
How to Install Any Basketball Pole Sleeve?
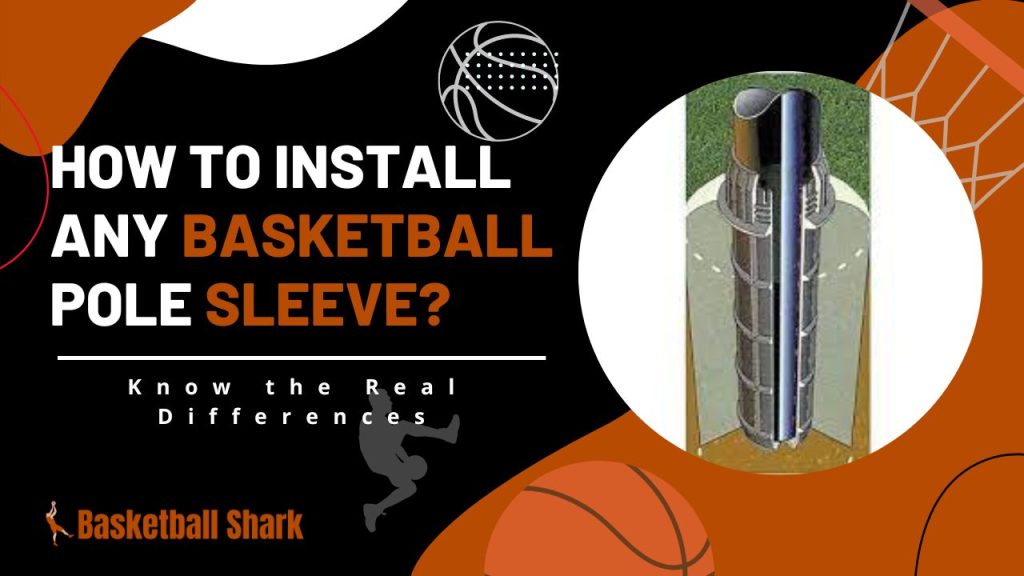
Installing a basketball pole sleeve is not just easy but also beneficial. Basically, what you normally do is you have to dig a hole in the ground and pour some cement to fix the pole.
A problem here is that your pole will not be able to move to another location after that.
So a better and more foreseen way of doing that is installing a basketball pole sleeve.
Below are the four easy steps to install any basketball pole sleeve.
Follow these dimensions to dig a hole
The manufacturers of the pole ask you to dig an 18” wide hole from all sides and make it deep for 24”.
But the problem occurs when they ask you to make the hole circular and place the pole only 4” from the playing area because then your pole will become uncentered automatically.
So what we suggest is that you should dig a square-shaped hole with 18″ of width on all sides and at least 28″ of depth in the hole.
Now mix the concrete for filling the hole or you can also buy readymade bags of at least 8 bags of 80lbs each. You may need a little more so get one or two extra.
It is helpful in the long run if you keep your concrete base a little farther from the driveway so that when you wash your driveway it doesn’t come to the pole base.
Now put your pole’s ground sleeve in the hole and make sure to keep the sleeve 0.25” higher than the court
In this step, you need to place the ground sleeve of your pole in the hole right in the center. Make sure the ground sleeve is exactly vertical and it doesn’t move when you leave it. It is necessary to make sure because soon you will pour concrete so it should be stable.
You have to make sure that when you place the head of the basketball pole sleeve, it should be exactly the same level where your court lies.
But the important thing here is that you have to keep the slope of the concrete going downwards away from the court. Eventually, the slope of the concrete of the pole will go to a lower level than the level of the playing area.
In simple words, you have to keep the playing area side of the slope ¼” higher and then slope it down to the other side. This will make the other side of the slope a little lower than the playing area.
This is because once you fix the pole on it, this higher side will automatically become almost ¼” lower than it was before. And if you don’t make it higher then it will become even lower than the playing area, so make sure you do it in advance.
Pour concrete around the sleeve up to the surface level of your ground
Now it’s time to pour the concrete mixture but make sure that your ground sleeve is exactly upright to the level of the ground surface. Concrete should not go into the sleeve in this step.
Measure the level of your driveway because it has to be an inch below the surface of the playing area. The reason behind this is that your sleeve will sit about an inch above the concrete level so that you get at least an inch of space to tighten the screws.
Also, whenever it rains or you wash your court, the water won’t go and sit under the sleeve because the sleeve will start rusting.
Another benefit of having the sleeve base a little higher is that the grass can grow under it and it will cover the below space. This is how you will only see the pole coming out of it other than the entire base being visible in the clean ground.
After setting everything accordingly, make sure that the sleeve is exactly in the upright position. After completing this step, leave it for at least three days if the weather is hot in your area. Otherwise, the cement drying time will vary according to the weather condition and the type of cement you used.
Fill concrete in the basketball pole
This last step is just a pro tip as when you fill concrete into the basketball pole; it will stop transferring the vibrations to the cement base underneath it.
Majorly the vibrations occur when you miss the hoop and hit the backboard. The entire pole vibrates for a few seconds because of that direct hit.
We are insisting, again and again, to make sure that the pole is straight vertical position so you should also double-check this before the concrete hardens.
And if you find any kind of tilt, get it into the right position before you run out of time. To ensure that even if it is straight up, it stays at its position by putting rebar inside the bottom sleeve of the pole. It will not leave any room for the pole to fall in any direction.
Read More:
Conclusion
Sometimes while you install the basketball pole sleeve, the instructions given in the manual don’t work for you. This is because each time the situation while installation changes so you don’t get the same environment each time.
Although you should know the best methods of how to install any basketball pole sleeve. But even if you don’t know how to do that, this incredibly easy guide is always there for you. Just follow the steps above and you’ll be done with it easily.
We hope that you liked this article and if you did, please make sure to share it with other basketball lovers. If you have any questions, please make sure to ask in the comment section below.

