How to Install Any Basketball Backboard to a Round or Square Pole?
Installing a new basketball backboard is very easy and can be done in an hour and a half or two. But if you are extremely new to this series and don’t know anything about it, then it will be of great help to hire someone else to do it for you.
Or at least take some help from the neighbors or the professionals. But if you ask us how to install any basketball backboard to a round or square pole we’d say it’s easy peezy. Just follow the guide below and you will see that it will be done in no time.
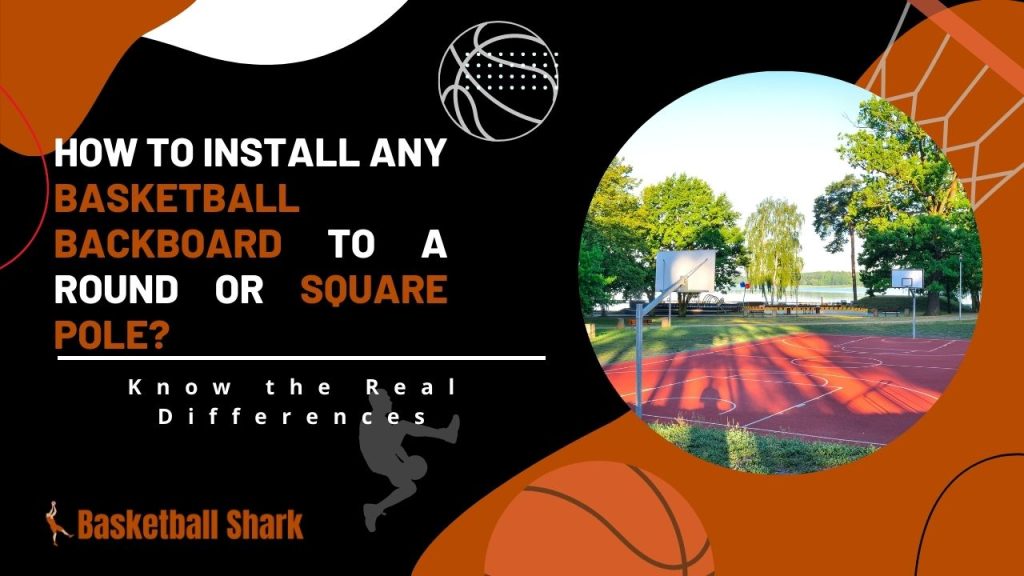
How to install any basketball backboard to a round or square pole?
Installation of a basketball backboard depends on several factors. So for the very first step, you will need to check if your basketball pole and the mounting bracket of your basketball hoop are compatible with each other or not.
The compatibility is ensured by checking out the size and shape of your basketball pole of the hoop that you want to install the backboard on.
Let’s take a real-life example of how we decided whether to order a new bracket for the hoop or not. We had a round-shaped Lifetime Backboard that required the pole to be 3.5 inches in diameter.
You probably know by now that the Lifetime brand has a limit of 10.99 inches for the 3.5 inches of diameter.
So if the existing system that you have fits the size and shape required for the new Lifetime backboard, then you’re good to go and buy one.
For a simple and easy understanding of the procedure, read these short and crisp steps ahead.
Guidelines before buying a new backboard
- Measure the diameter and check the shape of your existing pole before ordering anything.
- Search for suitable brackets online that you think will attach to your pole.
- Now do the same search but this time for the backboard so that it attaches to your mounting bracket easily.
- Now just change the backboard with the new one.
Guidelines if you already have a backboard
- Measure the diameter and check the shape of your pole.
- Check the backboard characteristics for what mounting bracket you need for both of these.
- Look for a mounting bracket that fits both; the pole size and shape and the backboard requirements.
- Replace the backboard following the guide below.
Protip: As a protip, we’d suggest that you should buy a Spalding 316 U-Turn Lift System. It is because this bracket attaches to any square pole without anything extra and to a round pole as well by just using a “Y” bracket. So you will just need another “Y” bracket in case you have a round pole but this “Y” bracket is also helpful if you have a rectangular backboard. Overall, this is an all-in-one type of thing that you should buy if you can afford it as its price is around $249.
Steps to install a basketball backboard to a round or square pole
Steps to install a basketball backboard to a pole are given as follows. You should make up your mind that the steps on their own are a little on the harder side. But we have written them in the simplest way here.
- Remove your old backboard if it is still attached to the pole.
- Assemble the mounting bracket near the pole. You may need to use some nuts, u-bolts, and washers.
- Attach the jack support bracket to the bracket already attached to the pole. It will also require you to use some bolts and nuts.
- Attach the jack support bracket to the pole of your hoop using some bolts, nuts, washers, or whatever it takes. Also, for additional safety assurance, place the bracket on a flat surface and make sure that the bolts, nuts, and washer heads are far for more safety.
- Elevator tubes, the elevator tubes are very important in this system as you will need them a lot while pulling the hoop up to the required height. And for that reason, the height decal is the key part of the hoop so don’t forget to connect it. Make sure that the height decal is aligned with the screw jack bottom at its lower side.
- Cover the screw jack assembly with its cover and then put the spacer inside this assembly. Now tighten all the screws, nuts, and bolts.
- Now in this step, the user manual says that you should attach the rim to the backboard and then attach it to the entire system. But we would suggest you that don’t attach the rim first. Instead, attach the backboard to the “Y” bracket assembly and to hold it in place for a moment, use some bolts that came out of the old backboard system.
- In the end, just attach the basketball hoop rim to the system so that it doesn’t feel like the “Big Lift” so to say. It is because the rim adjustment is easier after installing the backboard rather than fixing the rim first and then doing double the hard work just because you have added more weight to the system. Also, sometimes it even becomes harder for two people this way, so don’t go this way but do what we suggested for easier installation.
Conclusion
How to install any basketball backboard to a round or square pole? This is not even a question for you anymore. Installation of any basketball backboard has now been simplified with this guide. But we know that it is not that easy for first-timers, so getting help is always better than regretting afterward.
We hope that you liked this article. If you did, please share it with others and keep visiting this website regularly for more related updates. Also, if you have any questions, please ask in the comment section below and we’ll be happy to answer you as soon as possible.
Read More

